This article explains how to preserve your Print Conductor settings and printing preferences when reinstalling or upgrading the program.
You may need to reinstall Print Conductor in scenarios such as:
- Upgrading from the Trial Version to the Commercial Version
- Upgrading from an older version to the latest release
- Moving your Print Conductor license to another PC
In all of these cases, your currently used Settings (.ini) and, if needed, your File Lists (.flist) can be transferred to the new installation. Read on to learn how to safely export and restore your current Print Conductor configuration during a reinstall or upgrade.
Tips before you start — checklist
- Make sure you have administrator rights on the machine. Print Conductor installer requires them.
- For your FLIST/INI files location, confirm those paths are accessible from the target machine.
- Test the procedure on one PC first before deploying to multiple machines.
- Keep your Serial Number and license email handy.
Upgrading from the Trial Version to the Commercial Version
Learn how to easily move from the Trial version to the full (Commercial) version while keeping your current Settings and List of Documents below.
Method 1: Manual Upgrade (Reinstall + Export/Import Settings)
Below are two methods to switch from trial (free) version to commercial (full) version while keeping your Settings safe: a manual upgrade, and a command-line approach.
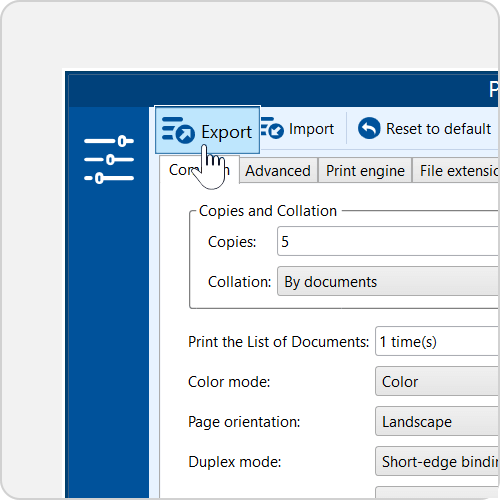
1. Export your Print Conductor Settings.
In the trial version, open the Settings window and click Export. This saves all your current program settings to an INI file. You may give it a specific name (for example, My-Settings-for-Office-Printer-2026-02.ini) and save it somewhere you'll remember. Note the INI file's export destination and back up the file to a safe location (network share, USB).
The INI file saves Print Conductor Settings (everything you may have changed inside the program and that's different from the default settings).
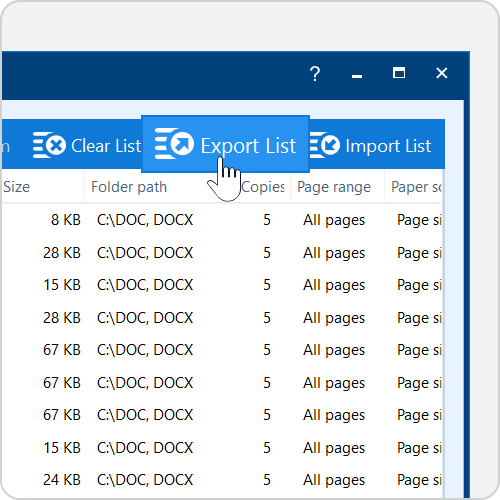
2. (Optional)Export your File List.
If you want to preserve the exact List of Documents you’ve queued (including individual Item settings… if you applied them), click the Export List button in the top right corner. This creates a FLIST (.flist) file containing your document paths and custom settings. Later you can re-import that same list by using the Import List button (in the full version).
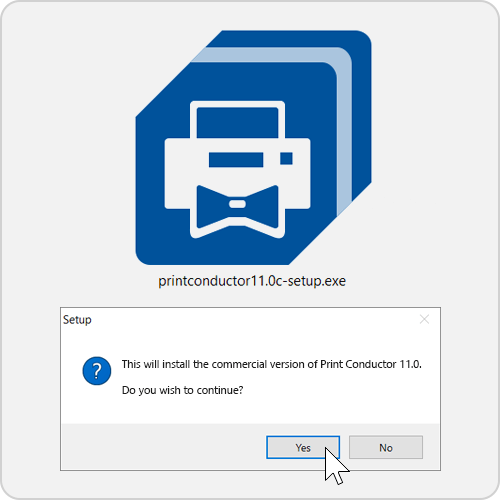
3. Uninstall the trial and install the commercial version.
Close Print Conductor, then simply run the commercial installer. The installer will prompt you to remove the old version and install the fresh one.
Alternatively, you can remove the trial via Control Panel → Programs and Features (or Add/Remove Programs). Then, run the commercial installer. During install, enter your purchased Serial Number to activate the license. If you prefer, you can leave it inactive and activate later.
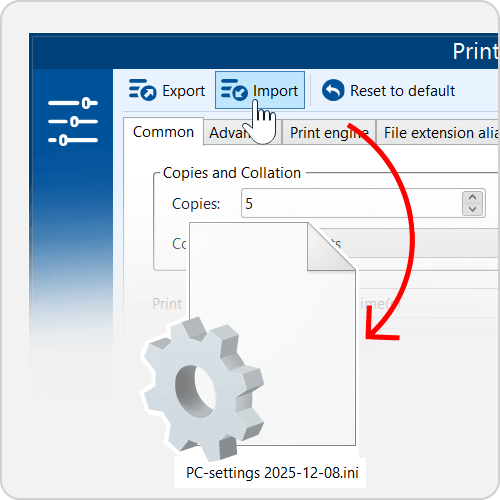
4. Import your saved Settings.
Launch the newly installed commercial Print Conductor. Go to Settings again and click Import. Select the INI file you exported in Step 1. This will restore all your previous program settings including Printer properties, interface preferences, added watermarks, etc. — exactly as they were in the trial.
❌ What will not be migrated:
Local printer driver files or credentials (network printer authorization)
System-level fonts/drivers (if the new machine lacks a font, output may change)
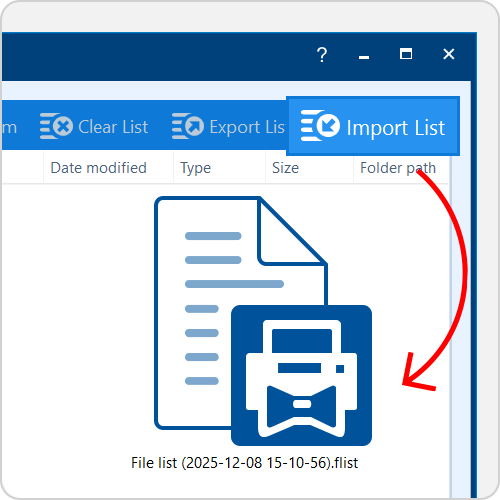
5. Import your saved File List.
If you saved an .flist in Step 2, click Import List on the main window and load that file. Print Conductor will import your files and item-level settings into the document queue, so you can pick up right where you left off.
![]() Note: For the settings to transfer correctly, you must have the same program version
Note: For the settings to transfer correctly, you must have the same program version
For the settings to be applied correctly, the "old" and "new" programs must be of the same version. For example, settings exported from Print Conductor 11 (trial) will transfer properly only when upgrading to Print Conductor 11 (commercial).
Method 2: Command-Line Upgrade
For an automated upgrade (e.g. via script), you can install and activate Print Conductor silently even on multiple PCs. Open a Command Prompt and run a command like below. For scripted installs, use the command-line examples below.
To install and activate the program using settings from an INI file:
printconductor12.0c-setup.exe /SILENT /SN=XXXXXX-XXXXXX-XXXXXX-XXXXXX /do=activate /LANG=en /settings_from="C:\My folder\PC-settings 2026-01-08.ini"
To install and activate the program while keeping your current settings:
printconductor12.0c-setup.exe /SILENT /SN=XXXXXX-XXXXXX-XXXXXX-XXXXXX /do=activate /LANG=en /settings=keep
Command-line parameter breakdown:
- /SILENT — runs the installer without any user prompts
- /SN= — specifies your 24-digit Serial Number received after purchase
- /do=activate — automatically activates the program after installation
- /LANG=en — sets English as the interface language
- /TASKS="desktop_icon,reg_shell_ext" — executes additional installation tasks: creating a desktop icon and adding the program to the Windows Explorer context menu
- /cfu=noupdatesinfo — Disables the program's automatic checks for software updates on every launch
- /cum=disable_cum — Disables collecting of usage metrics (non-personal technical information for performance analysis)
- /settings_from="C:\path\to\PC-settings.ini" — sets path to Print Conductor Settings (INI file) that you saved earlier
- /settings=keep — keeps Print Conductor Settings from the previous installation
![]() Did you know?
Did you know?
You can always launch Print Conductor from the command line — with previously saved Settings (INI file) and FLIST file. Learn more →
In effect, it silently installs and activates Print Conductor and applies your saved configuration file — all in one step. For more details, please refer to this article:
How to Deploy Print Conductor in Silent Mode
After that command finishes, start Print Conductor – you should see all your preferences already applied. If you also need to load a saved File List, you can either double-click the FLIST file or use Import List as in Method 1 (Step 5).
Upgrading from an older version to the latest major release (e.g., 8.0 → 11.0)
If you have a version lower than the current major update (e.g. you have 8.0 and the latest version is 11.0) — this is a paid update. Therefore, the serial number from version 8 or 10 will not work for version 11. In this case, please contact us via the support page to get an upgrade with a good discount.
Once you decide to install the new version, try exporting your Settings and List of Documents first (as described above) and importing them in the newly installed version. However, we cannot guarantee full compatibility with older versions. If the imported settings do not work correctly, you may need to reconfigure your Print Conductor Settings and printer preferences from scratch.
Migrating Print Conductor to a new computer (using saved settings)
If your computer has broken down, been replaced, or is otherwise unavailable, you can transfer your licensed copy of Print Conductor to another PC. If possible, uninstall Print Conductor from the old computer while it is connected to the Internet — this will release an activation slot associated with your Serial Number (SN).
Then, install the same program version on your new computer and activate it using your Serial Number.
Where to find your Serial Number (SN)?
After activation, you can view your Serial Number (license key) directly in the program interface. The number is shown in the About window (click the “?” icon in the top-right corner) or in the Windows Registry. For more details, see this how-to article:
How to Find Your Print Conductor Serial Number and Version Number
The migration process is usually seamless as long as you are using the latest version of the program. If you encounter any issues, please contact our support team.
Summary
By following these steps, you can reinstall Print Conductor or upgrade to a newer version without losing any of your custom configurations.
If you run into issues, please contact our support – but in most cases, simply exporting and re-importing your files is all you need to continue printing with your previous settings.