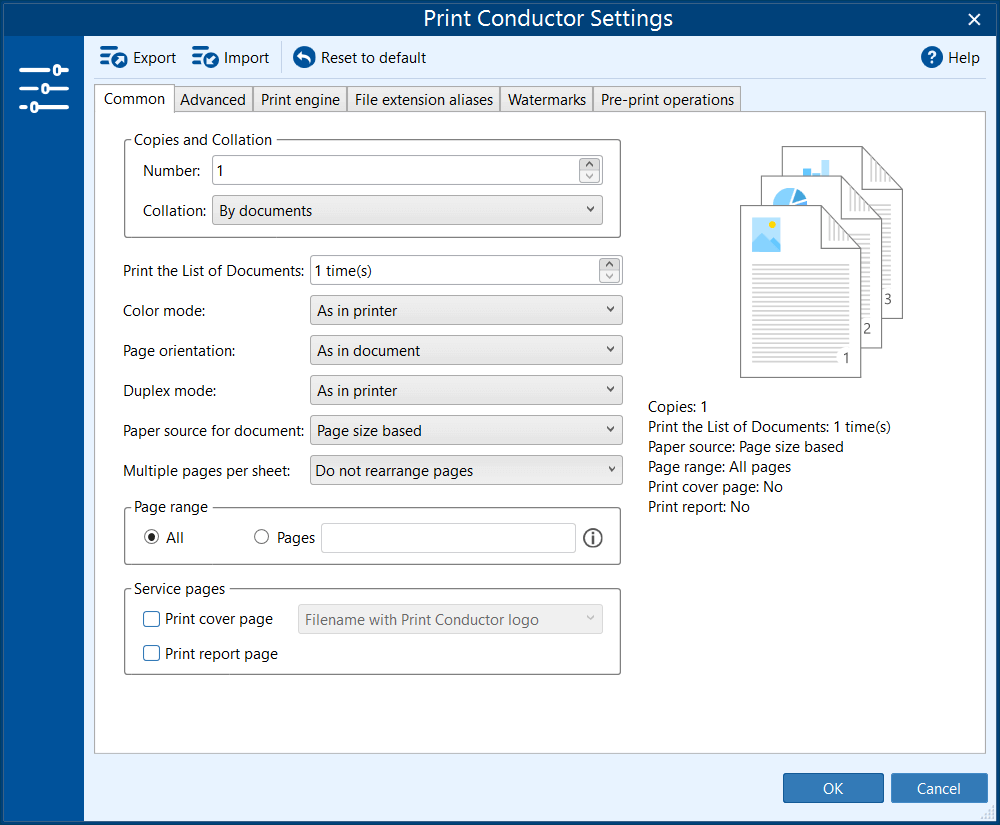
This page provides descriptions of all settings available on the Common tab and their options.
Copies and Collation
This group of settings allows you to set the number of copies and the page sorting method – Number of copies and Collation.
Number of copies
Indicate the number of document copies required in the Number field.
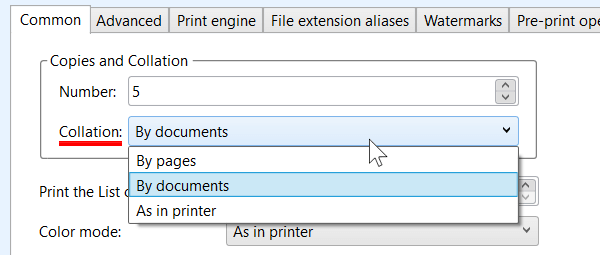
Collation
Collation is the process of arranging individual sheets of your documents in a specific order. This feature is particularly useful when printing materials such as brochures, leaflets, and handouts for distribution to a group of people.
Available options:
- By documents (default option)
- By pages
- As in printer
Learn more about how pages can be collated →
Print the List of Documents N time(s)
To print the entire List of Documents multiple times, use the Print List of Documents N times setting. For instance, if you set it to 2, the program will print all the listed items and then the same list one more time.
Learn more about printing the List multiple times →
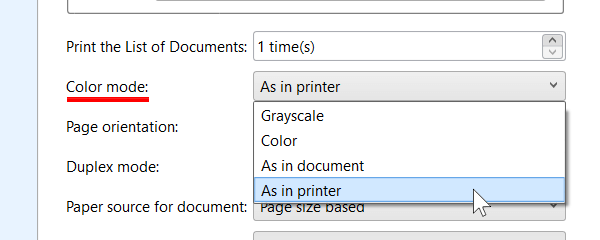
Color mode
Choose between Color or Grayscale (black/white, shades of gray) printing modes, or use a color profile determined by your printer or the document itself. By default, the color mode is set to As in printer.
Available options:
- Color
- Grayscale
- As in document
- As in printer
Color mode: As in document
When using Color mode: As in document, the print mode is determined by the content of each page. If at least a single pixel is colored, the whole page is treated as color.
To fine-tune this detection, you can adjust the minimum number of colored pixels and the minimum difference between RGB channel values. These thresholds help define whether a page is considered color or grayscale.
You can configure these settings in:
Settings → Advanced → File loading parameters → Min pixels quantity threshold, Min channels difference threshold.
Learn more about Color and Grayscale modes in Print Conductor →
Did you know that you can apply color mode to specific pages only, instead of all pages? To do this, use the setting Color mode for selected pages only.
Page orientation
You can set the orientation of your document's pages using the Page Orientation option.
Available options:
- Portrait
- Landscape
- As in document
- As in printer
Duplex mode
You have the option to configure printing on either both sides of the paper (Duplex, double-sided printing) or just one side (Simplex, one-sided printing). The default setting is determined by your printer (As in printer).
Available options:
- One-sided (Simplex)
- Long-edge binding (Duplex)
- Short-edge binding (Duplex)
- As in printer
Learn more about duplex printing →
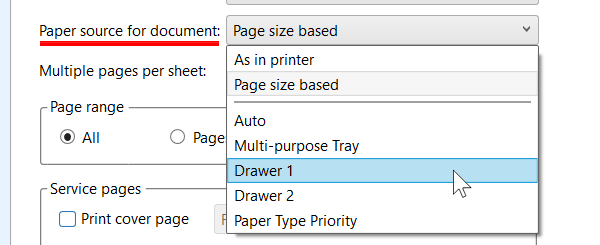
Paper source for document
The Paper source for document option sets a paper source for blank sheets of paper which is usually a manual feed slot to insert blank paper sheets. It can be located on the front or rear panel of the printer, depending on the model. These slots may have different names, such as "Manual Feed Tray".
If your printer has multiple input trays, you can manually select the tray to use for Print Conductor. Use the dropdown menu to choose a specific printer tray. This selection will apply to all documents in the List.
Alternatively, you can let Print Conductor automatically select the best paper source based on the document's page size (Page size based).
Available options:
- As in printer
- Page size based
- < List of printer trays provided by your printer >
Did you know that you can configure the paper source not only for entire documents but also for:
Selection of these paper sources can be configured in the Advanced Settings.
Multiple pages per sheet
By default, pages are printed as they appear in the original document. If you want to fit several pages onto a single sheet for printing, use the Multiple pages per sheet or Booklet printing mode.
Available options:
- Do not rearrange pages
- Multiple pages per sheet
- Booklet printing
Multiple pages per sheet mode
This mode allows you to arrange several pages on one sheet of paper. For example, 4 x 4 pages on one sheet.
Learn how to print multiple pages on one paper sheet →
Booklet printing
The Booklet printing mode enables you to print a document in a format suitable for a booklet: four pages per sheet, double-sided, with the binding on either the left or the right side. After printing, you can assemble a booklet with pages that you can flip from left to right (or vice versa).
Learn how to set up booklet printing →
Page range
In Print Conductor, you have the option to specify a page range for printing. This can be configured for all files or certain ones in the List of Documents. To adjust the page range, simply enter the page numbers and/or page ranges separated by commas.
Available options
- All
- Pages
Learn more about setting page range →
Service pages
Service pages are optional additional pages that you can print alongside your documents. These are cover pages and report pages.
Print cover page
The cover page distinguishes each new printed document (or document copy) from the previous one. It has multiple templates and additional options, so be sure to check the full tutorial on cover page usage.
Learn how to use cover pages →
Print report page
Print Conductor enables you to print a post-print Report page once the print session is complete. You can learn more about the Report page and other types of reports in our how-to article.
Learn more about the Report page →
Print Preview and Summary
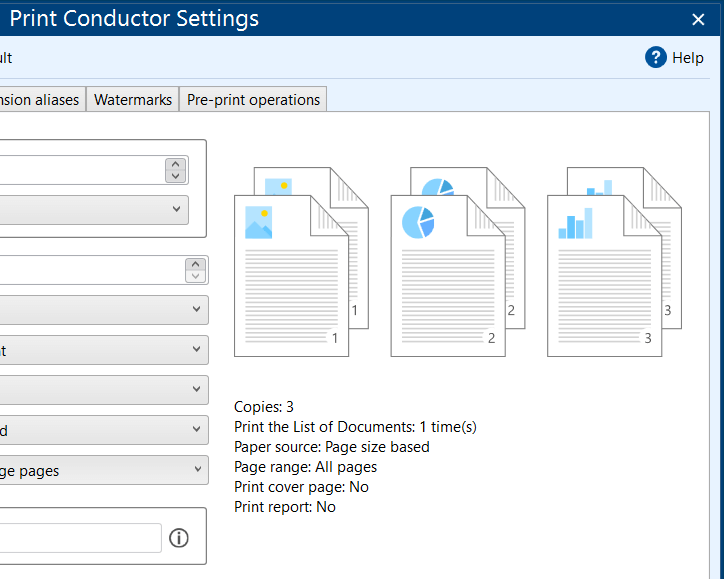
On the right side of the window, you'll find the Print preview and Summary. Changes made in the Common tab are reflected in either the Print preview or Summary. This UI element helps you visualize how the printouts will appear and understand which settings will be used during batch printing.
The text Summary is located below the Print preview. It indicates any changes that cannot be visually represented in the Print preview.
You may also like to read about:
Need help with configuration? Please contact us.

